How to use groups and roles
All servers managed through Roxy-WI can be organized into user-defined groups, allowing you to categorize them based on various criteria, such as type or purpose. By default, all servers are included in a common group named "Default". Any additional groups you create will be nested within this default group.
To create a group:
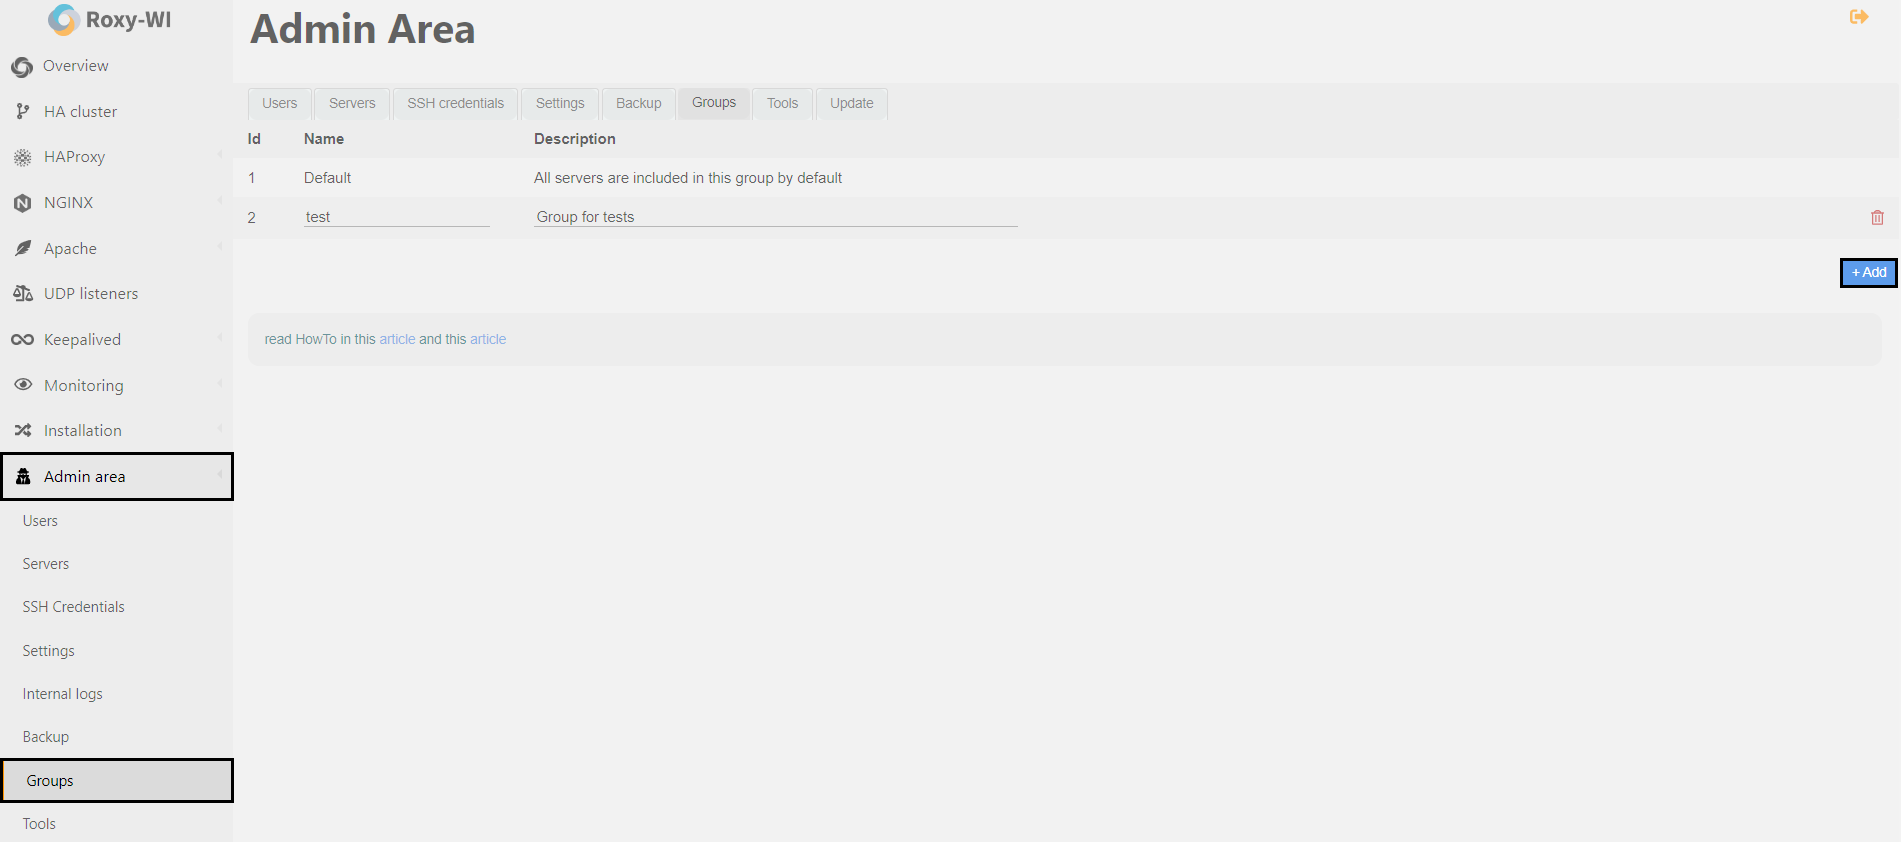
1. Go to the Admin area => Groups section and click Add.
2. In the form that has opened, enter the name of your group and a description if needed. Click Add.
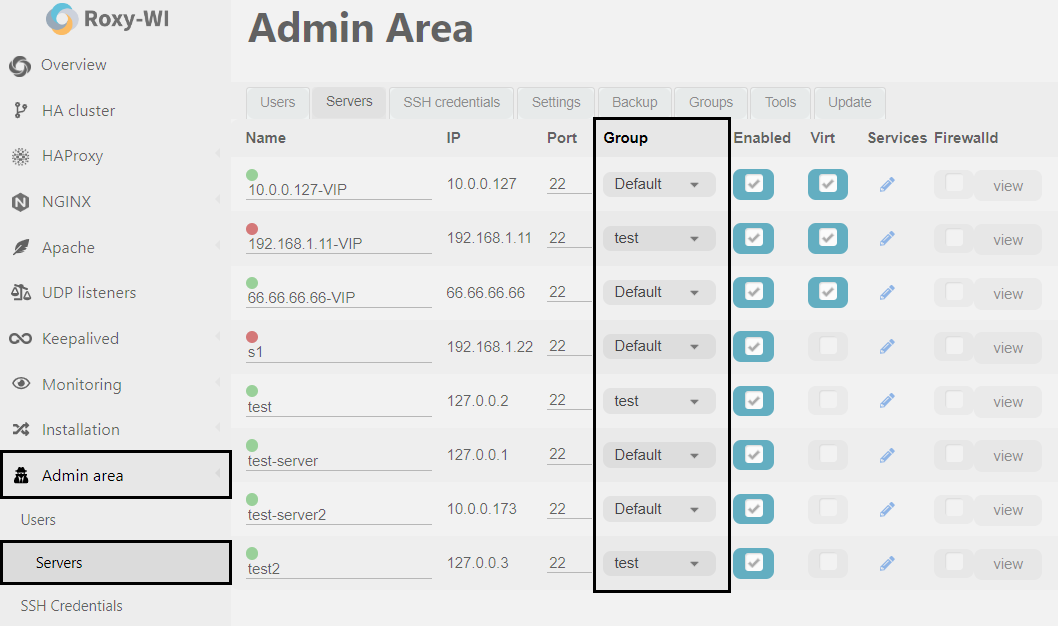
After this, you can add to the group both existing and new servers. To add an existing server, go to the Admin area => Servers section and select the group from the drop-down list next to the server's name:
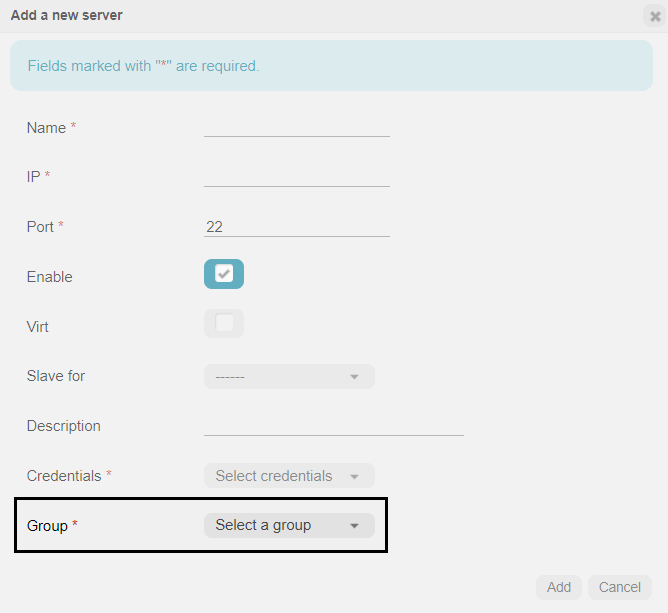
To add a new server, select the group from the drop-down list while creating the server:
Users can be assigned varying permissions for managing server groups, referred to as roles. Each user can be assigned one of the following four roles, each with its own set of permissions and privileges:
- Guest — a visitor of the Roxy-WI website who does not have permission to perform any operations;
- Editor — a user who can edit configuration files and restart HAProxy and Nginx services;
- Admin — a user who can amanage groups as permitted by the SuperAdmin but does not have access to the Admin area;
- SuperAdmin — a user who manages everything at a global level, with the ability to add, edit, and remove servers; add users and assign roles; and edit all configurations and settings.
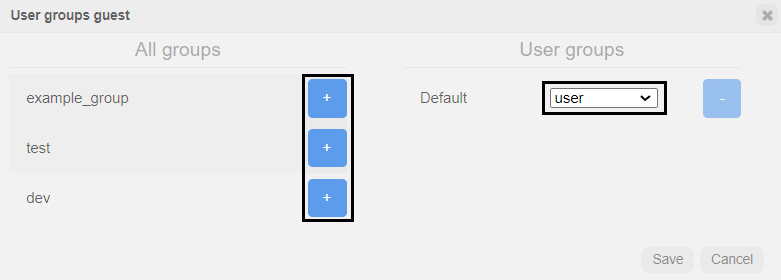
To associate users with groups and assign roles, go to the Admin area => Users section and click the pencil icon next to the desired user. In the pop-up window, select the groups that the user will manage by clicking the + sign, and assign a role for each group. Then, click Save.


